Get PCs talking seamlessly
In the name of security, Vista wholly revamps the way networking operates. The Network and Sharing Center (part of the Control Panel) can be daunting and confusing when you want to share files on your local network. Here’s the easy way to get the job done.
First, make sure you use the same workgroup name on all PCs. In Vista, this setting is in the System control panel. Click Change Settings on the main page to join another workgroup.
Second, you’ll have a far easier time if you use the same username and password on all PCs you want to network. In Vista, you set up users in the User Accounts control panel. Administrator rights make this considerably easier, though it’s officially discouraged.
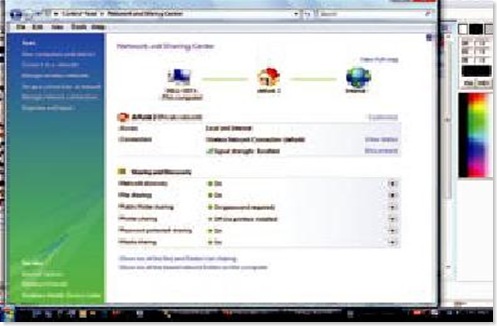
Now you’re ready to set preferences in the Network and Sharing Center control panel. Here’s how it should look:
- Network discovery: On This makes your PC visible on the network. • File sharing: On The equivalent of installing File and Printer Sharing on XP. You need it to do anything.
- Public folder sharing: Up to you The Public folder is a special folder Vista creates in which you can put data you know you want to share across the network with multiple users. You might store your pictures, videos, and music here, for example. It’s just like any other folder, except it can be simply managed and shared with one click here. Turn it on (either read only or read/write) and you’ll see the Public folder in the Computer view directly under the Desktop folder.
- Printer sharing: Up to you Only if you want to print across the network.
- Password protected sharing: On This is the setting that lets users with a valid login on the Vista PC reach shared folders on that computer. Turn password-protected sharing off and users can do just about anything. Leave it on for better security.
- Media sharing: On This is largely useless, unless you stream music to your Xbox or another UPnP device, but leave it on, why not?
When finished configuring the Network and Sharing Center, your interface should look about like this.
============================ End =============================


0 Comment
Post a Comment